

How Do You Select a Press-on Nail to Fit Your Natural Nail?
Press-on nails have become increasingly popular in recent years, offering a quick, affordable, and stylish alternative to traditional manicures. However, to achieve a natural and comfortable look, it's crucial to select press-on nails that fit your natural nails perfectly. This guide will walk you through the process of choosing the right press-on nails for your unique nail shape and size.
Understanding Your Natural Nail Shape
Before selecting press-on nails, it's essential to understand your natural nail shape. Common nail shapes include:
- Square
- Round
- Oval
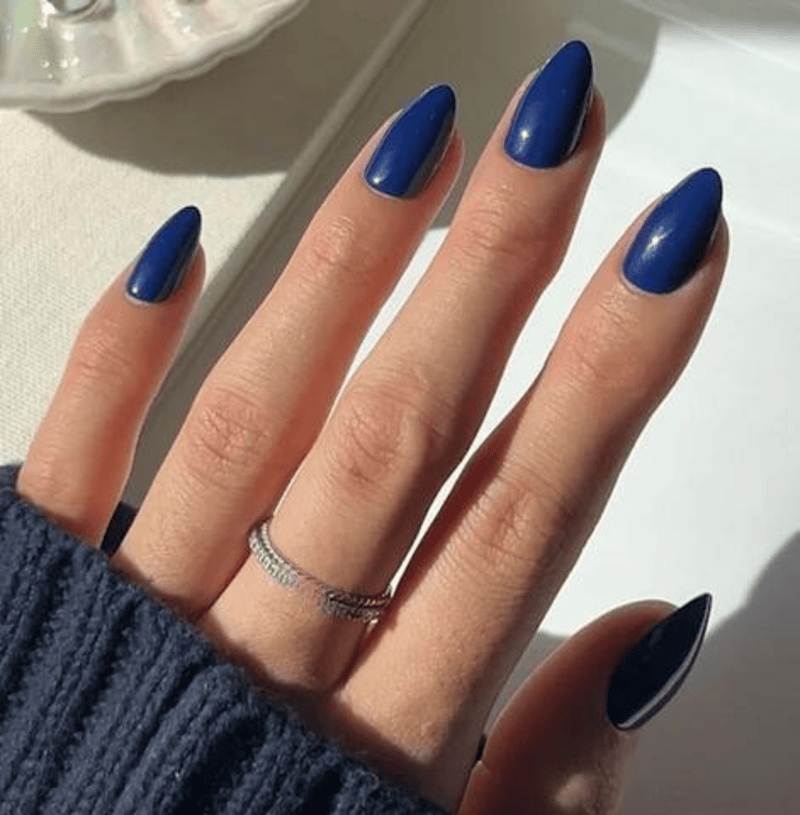
- Almond
- Stiletto
- Coffin (or Ballerina)
Knowing your natural nail shape will help you choose press-on nails that complement your fingers and look more natural.
Types of Natural Nails and Their Impact on Press-On Selection
In addition to nail shape, it's crucial to consider the specific type of natural nails you have. Different nail types can affect how press-on nails fit and look. Here are the main types of natural nails and how to approach press-on nail selection for each:
- Regular Nails
- Characteristics: Standard nail bed with a slight natural curve
- Press-On Selection: Most press-on nails are designed for this nail type
- Tips: Focus on finding the right size and shape to match your nail beds
- Concave Nails
- Characteristics: Significant inward curve from side to side
- Press-On Selection: Look for more flexible press-on nails
- Tips:
- Choose slightly narrower press-ons to avoid gaps at the sides
- Consider using extra adhesive at the edges for a secure fit
- Flexible ABS plastic nails may conform better to your nail shape
- Short Nails
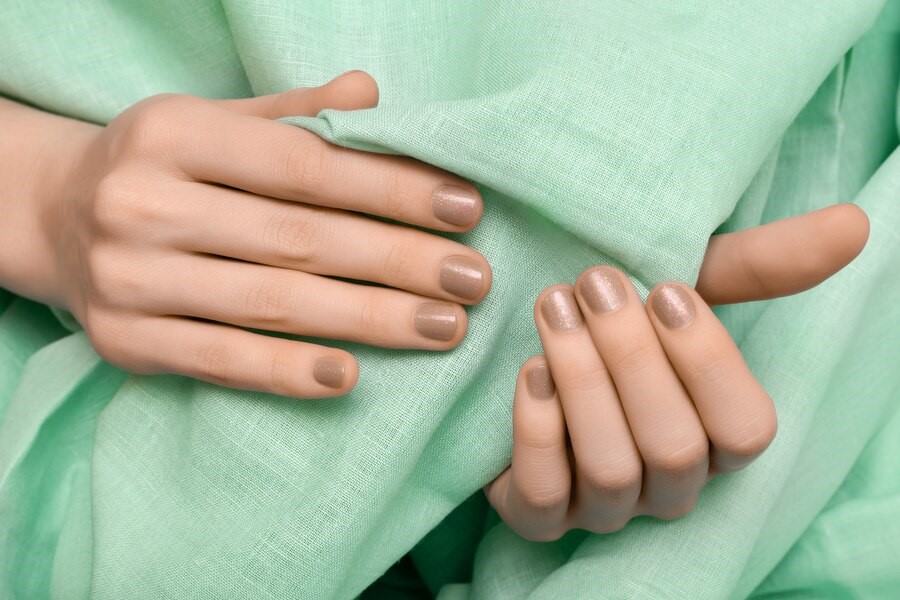
- Characteristics: Nail plate doesn't extend past the fingertip
- Press-On Selection: Opt for shorter press-on nails or those that can be easily trimmed
- Tips:
- Look for press-on sets specifically designed for short nails
- Be prepared to file down longer press-ons for a more natural look
- Choose shapes like round or square for a flattering appearance on short nails
- Flat Nails
- Characteristics: Little to no natural curve from base to tip
- Press-On Selection: Most standard press-ons will work well
- Tips:
- Pay extra attention to nail prep to ensure good adhesion
- Consider press-ons with a slight artificial curve for added dimension
- Be careful not to choose overly curved press-ons, as they may not sit flush
- Convex Nails
- Characteristics: Pronounced outward curve from side to side
- Press-On Selection: Look for press-ons with a flatter profile
- Tips:
- Choose slightly wider press-ons to ensure full coverage
- Be cautious of press-ons with a strong inward curve, as they may not fit properly
- Consider custom press-ons for a perfect fit if standard options don't work well
Measuring Your Nails
Accurate measurement is crucial for selecting the right press-on nails. Follow these steps:
- Clean and dry your nails thoroughly.
- Use a ruler or tape measure to measure the width of each nail at its widest point.
- Measure from cuticle to tip to determine the length.
- Record these measurements for each finger on both hands.
Pro tip: Some press-on nail kits come with a sizing guide or chart. Use this to match your measurements to the appropriate nail sizes in the kit.
Choosing the Right Size
Most press-on nail sets come with multiple sizes to accommodate different nail widths. Here's how to choose the right size:
- Compare your nail measurements to the sizes provided in the kit.
- Choose the size that's closest to your natural nail width without overlapping your skin.
- If between sizes, opt for the smaller size and file it down if necessary.
- Remember that your thumb, index finger, and middle finger may require larger sizes compared to your ring and pinky fingers.
Considering Nail Length
Press-on nails come in various lengths. Consider the following when selecting length:
- Your personal style preference
- Practical considerations (e.g., typing, daily activities)
- The length of your natural nails
- The occasion (e.g., everyday wear vs. special events)
Remember, you can always trim or file down longer press-on nails to achieve your desired length.
Selecting the Appropriate Shape
Choose a press-on nail shape that complements your natural nail shape and finger length:
- Square: Suits most nail beds; good for short fingers
- Round: Flattering for most hand shapes
- Oval: Elongates shorter fingers
- Almond: Adds elegance and suits longer nail beds
- Stiletto: Makes fingers appear longer; best for special occasions
- Coffin: Trendy shape that works well with longer nail beds
Material Matters
Press-on nails are typically made from one of two materials:
- Acrylic: Durable and long-lasting, but less flexible
- ABS plastic: More flexible and natural-looking
Consider your lifestyle and preferences when choosing between these materials. ABS plastic may be more comfortable for everyday wear, while acrylic might be better suited for occasional use or special events.
Customization Options
Many press-on nail sets allow for customization:
- Filing: Shape the nails to better fit your natural nail shape
- Painting: Apply nail polish or nail art for a personalized look
- Trimming: Cut longer nails to achieve your desired length
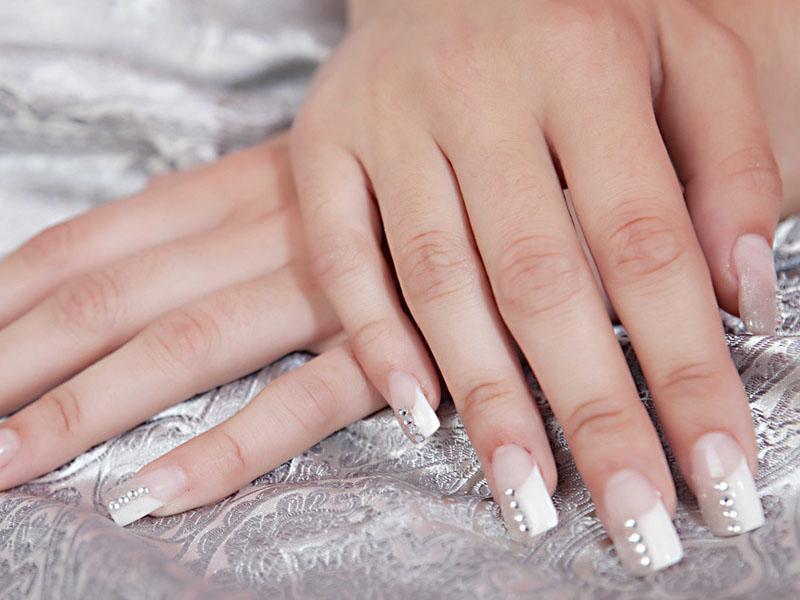
- Adding embellishments: Attach rhinestones or other decorations for extra flair
Remember to use appropriate tools and techniques when customizing to avoid damaging the press-on nails.
Application Tips for a Perfect Fit
To ensure your press-on nails fit perfectly:
- Prep your natural nails by cleaning, shaping, and pushing back cuticles.
- Apply nails to clean, dry nails free of oils or lotions.
- Use nail glue for a longer-lasting hold, or adhesive strips for easier removal.
- Press down firmly on the center of the nail, then along the sides.
- Hold each nail in place for 30-60 seconds to ensure proper adhesion.
Maintaining Your Press-On Nails
Proper maintenance can extend the life of your press-on nails:
- Avoid exposing nails to excessive water or harsh chemicals.
- Use gloves when doing chores like washing dishes or cleaning.
- Apply a clear topcoat every few days to enhance durability.
- Gently file down any rough edges that may develop over time.
With proper care, press-on nails can last up to two weeks.
Removing Press-On Nails Safely
When it's time to remove your press-on nails:
- Soak your hands in warm, soapy water for 10-15 minutes to loosen the adhesive.
- Gently lift the press-on nails starting from the edges.
- If the nails don't easily come off, soak them a little longer.
- Avoid pulling or forcing the nails off to prevent damage to your natural nails.
For glue-on nails, use an acetone-based nail polish remover to dissolve the glue before removal.
Final Thoughts
Choosing press-on nails that fit your natural nails is key to achieving a comfortable and natural-looking manicure. By understanding your nail shape, measuring your nails, selecting the right size, and considering length, shape, and material, you can enjoy beautiful and long-lasting press-on nails that suit your style. Remember to follow application and maintenance tips for the best results.

.png)


